Share a file by using Get a link
You can share a link to a file that others can also share by using Get a link. Get a link is available only for individual files, but it’s the easiest way to share files with everyone in your organization or to share with people externally (as long as external sharing is enabled for your sites).
-
Go to the site library that has the file you want to share.
-
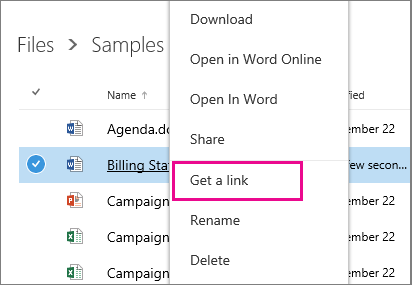
Right-click the file you want to share, and then select Get a link. If you don't see Get a link, click Share, and then click Get a link.

-
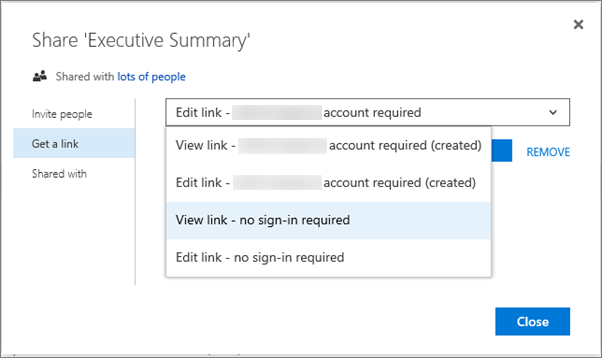
Choose the type of link you want to create.

Links for internal sharing:
-
Edit link – account required After they sign in, people in your organization can edit, copy, or download the file.
-
View link – account required After they sign in, people in your organization can view, copy, or download the file.
Guest links:
-
Edit link – no sign-in required People outside your organization can edit the file and may also be able to copy and download the file. People may need to sign in with a Microsoft account to copy or download the file.
-
View link – no sign-in required People outside your organization can view the file and may also be able to copy and download the file. People may need to sign in with a Microsoft account to copy or download the file.
-
-
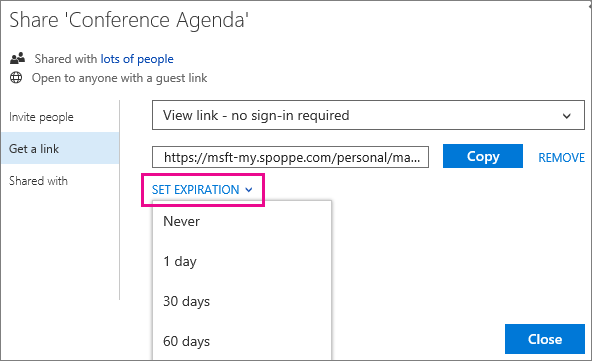
If you choose a no sign-in required link and you want to set the link to expire, click Set expiration, and then choose how long before the link expires, such as 30 days. Account required links don’t expire and there’s no option to set an expiration for those links.

-
Click Copy to copy the link to the clipboard.
-
Paste the link into an email and send it or post it on a website for the people you want share with.
