- Sign in to https://myapps.microsoft.com
- Select your account name in the top right, then select profile.
-
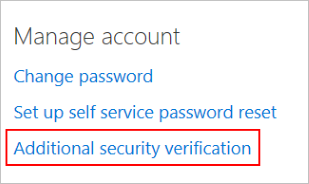
Select Additional security verification.
-
The Additional security verification page loads with your settings.

Select Additional security verification.
The Additional security verification page loads with your settings.
Add a work or school account to the app using the QR code scanner
- Go to the security verification settings screen. For information on how to get to this screen.
-
Check the box next to Authenticator app then select Configure.
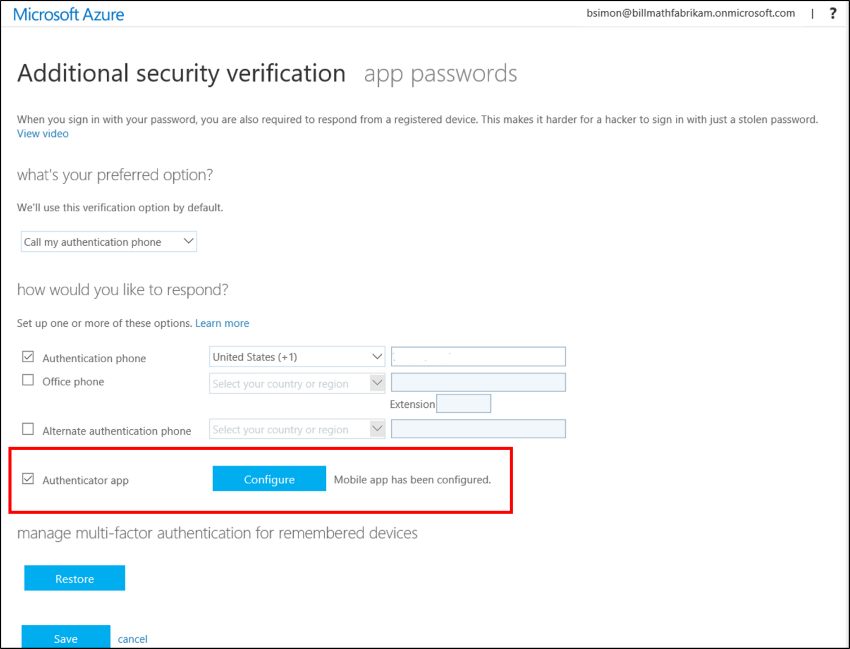
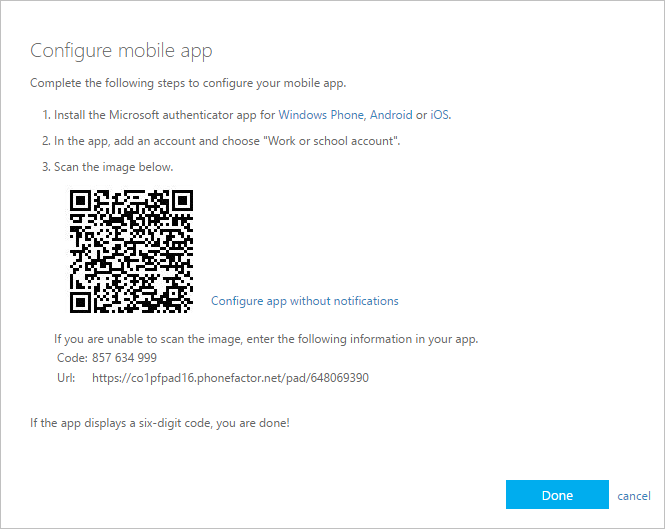
This brings up a screen with a QR code on it.
- Open the Microsoft Authenticator app. On the accounts screen, select +, and then specify that you want to add a work or school account.
-
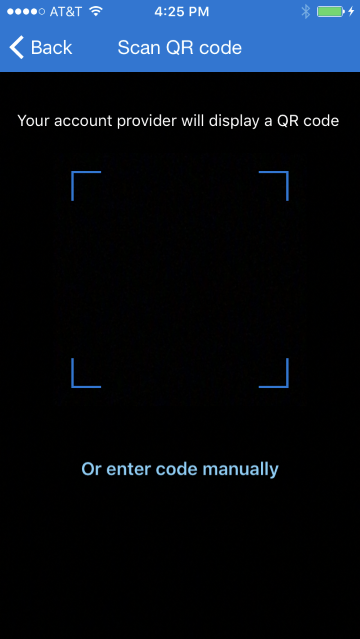
Use the camera to scan the QR code, and then select Done to close the QR code screen.
If your camera is not working properly, you can enter the QR code and URL manually.
-
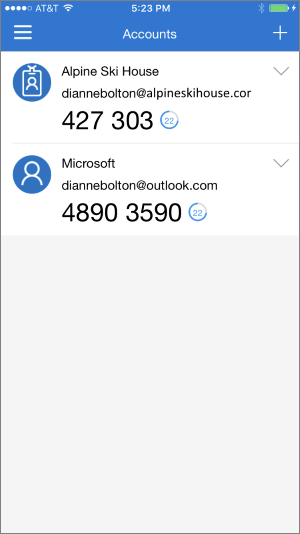
When the app shows your account name with a six-digit code underneath it, you're done.
Add an account to the app manually
- Go to the security verification settings screen.
-
Select Configure.
This brings up a screen with a QR code on it. Note the code and URL.
-
Open the Microsoft Authenticator app. On the accounts screen, select +, and then specify that you want to add a work or school account.
-
In the scanner, select enter code manually.
-
Enter the code and the URL in the appropriate boxes in the app, then select Finish.

-
When the app shows your account name with a six-digit code underneath it, you're done.
Add an account to the app using Touch ID
The Microsoft Authenticator app on iOS supports Touch ID. Azure Multi-Factor Authentication allows organizations to require a PIN for devices.
With Touch ID, iOS users don’t need to enter a PIN. Instead, they can scan their fingerprint and select Approve.
Setting up Touch ID with Microsoft Authenticator is simple. You complete a normal verification challenge with a PIN.
If your device supports Touch ID, Microsoft Authenticator will set it up automatically for that account.

From that point forward, when you're required to verify your sign-in, you select the received push notification and scan your fingerprint instead of entering your PIN.

Use the app when you sign in
Once your account is added to the app, you may be prompted to do a test verification to make sure everything was configured correctly. After that, you're done! You don't need to do anything else until the next time you sign in.
If you chose to use verification codes in the app, you'll start to see them on the home page. They change every 30 seconds so that you always have a new code when you need one. But you don't need to do anything with them until you sign in and are prompted to enter a verification code.